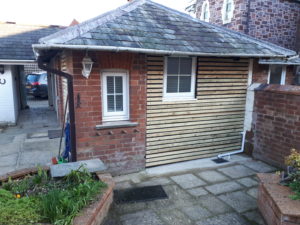
A lot of people are keen to convert a garage or outbuilding/outhouse so I thought I would write down some information and handy tips for you before you get started.
Planning

If converting an existing out building, planning will usually be required alongside building regulations. The planning departments are normally really helpful so a quick call to them to ask their advice will confirm this. Although I under took a refurb recently and as the outhouse was already an office with kitchen area and toilet planning was not required.
Structure
The next thing to look into is the structural stability of the building. Just because its standing fine now doesn’t mean that by the time you have added stud walls, bathroom, kitchen that the structure will be able to maintain its position.
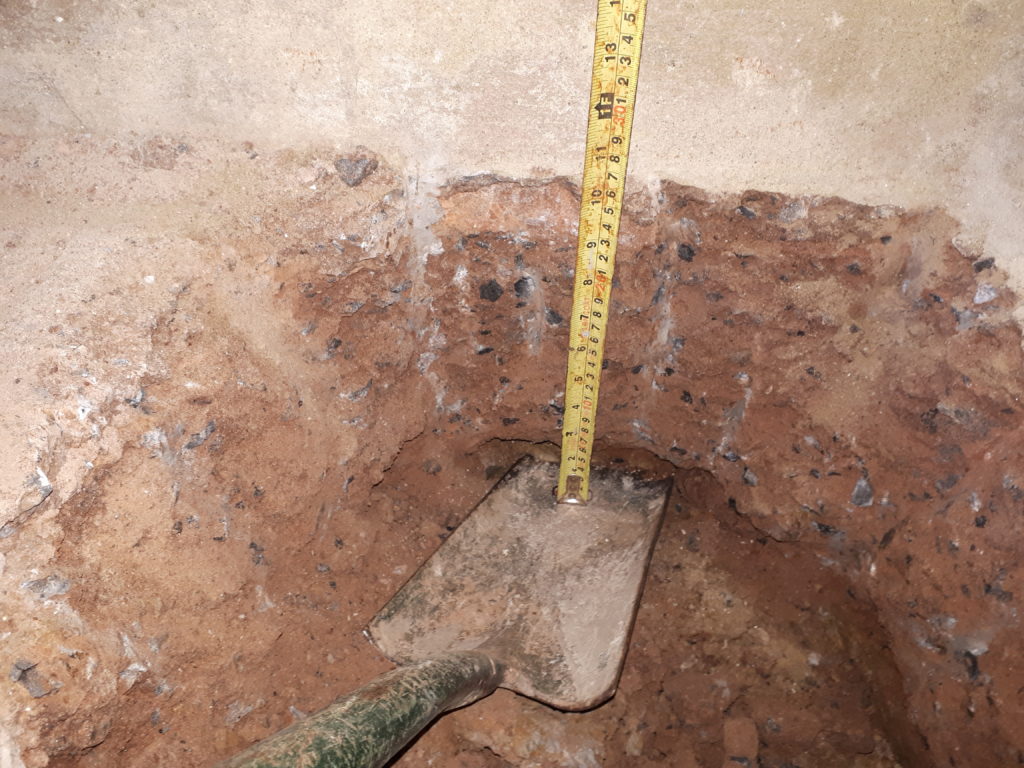
What I recommend is digging a trial hole in front of the exterior wall and dig down until you can find the footings. I would then ask a structural engineer to do some calculations to make sure your plans are achievable using the existing structure as it stands. Usually it won’t be a problem but if it’s potentially going from an outbuilding built for storage to a habitable space, it needs checking and rather now then later down the line when it could really cost you.
Once you have had the calculations back then it can go one of 2 ways the footings are adequate meaning you can go ahead with your plans subject to planning. Or the footings are not adequate meaning you will now have to work out the best course of action. A couple examples of what can be done for inadequate footing:
Underpinning
This is when the existing footing is undermined in sections and additional concrete poured underneath to make the existing footings more substantial. Although there are other methods of underpinning now this is the more standard way of doing it. However if you have a large area to underpin then possibly other methods may work out better value. Another type of underpinning is:
Screw pile and brackets.
This is where a metal tube is screwed into the ground to whatever depth is required (usually to hard ground and then some), then a bracket fixed to the tube. This metal bracket then picks up the bottom of the footing. This would need to be done at intervals across the entire footing that needs underpinning.
Costs would need to be compared and the gains calculated over the entire project as to whether it is cost effective to underpin or to simply demolish the existing building and rebuild from scratch. Although it sounds like a big task in these circumstance sometimes its quicker and easier to start again.
Once this has been worked out and if your able to refurbish the existing building then it’s all plain sailing from here on out. Standard building regulations apply.
Typically outbuilding’s would either be solid 9 inch brick work or a standard 4” I will discuss this later on but with regards to preparing this type of wall construction then damp proofing will be required.
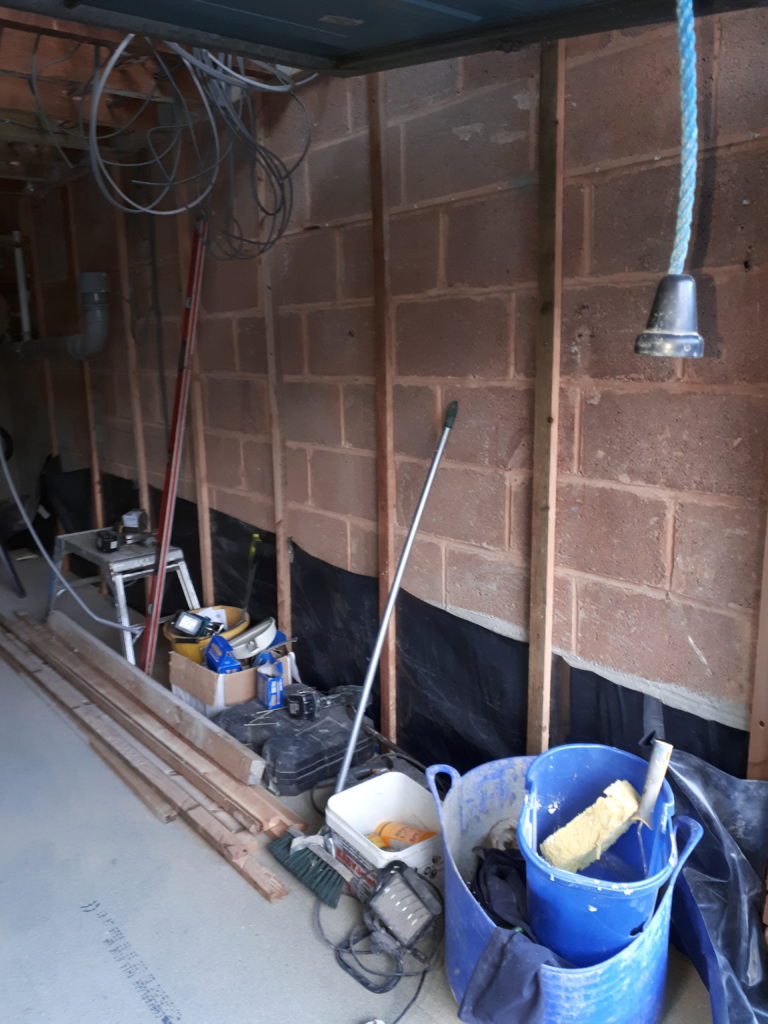
Damp proofing
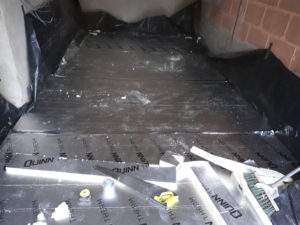
Damp proofing is usually quite a bit of work, as usually the existing floor would off almost certainly not had a Damp proof membrane installed (DPM) so the floor would need taking up and a new insulated concrete or suspended timber floor need installing. Also a Damp proof course (DPC) will usually need to be installed and alongside this tanking is needed on the internal wall, before it’s boarded or plastered.
Tanking and Injecting
Injecting a DPC is when an existing wall doesn’t have a water impermeable layer to prevent the moisture tracking up through the wall, this is usually on older properties and as such an outbuilding will probably be the same.
A way of installing a DPC retrospectively is by injecting a chemical into the wall at intervals along the length at the same height (Usually 150mm above floor level externally and floor level internally).
This spreads out and forms a barrier to prevent the water passing up through the wall.
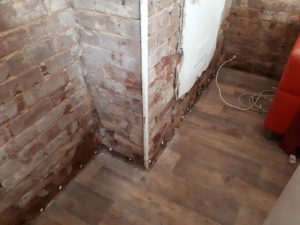
Tanking usually goes hand in hand with injecting. This is when plaster is taken off the internal wall up to 1.3m from floor level and a waterproof sand and cement mix applied to the area. Once dry this can then be plastered over or plaster boarded.
This prevents any moisture working its way through the wall substrate and coming out into the internal room.
Insulating
I have assumed the walls are either a cavity wall or solid 9 inch. Cavity wall is the standard wall construction we see today, where there is a inner leaf and outer leaf with a gap (cavity between the 2) this cavity is usually filled with insulation if it’s an older building this usually won’t be filled that’s where you get these companies going around filling the cavity with insulation. If it’s a solid wall then there is no cavity just 9 inches of brick work.
If it is solid then it would be worth considering whether you want to batten off the wall and install a pir board in between the batten and board over or board over the battens with an insulated backed plasterboard. This will help with the u value and as solid walls can be susceptible to condensation and damp it’s a great way of preventing this problem while keeping the area warm. Also you could just dot and dab the insulated backed board direct to the walls which is a good cheap alternative, however if you have used a tanking slurry beforehand check that you can use the plasterboard adhesive straight to the tanking solution as some tanking products don’t allow this .
If it happens to be a single skin wall (single brick/block wall) then you will definitely need to build an internal stud wall, insulate between the stud and over the stud to get better u-values.
Again going with the insulation theme, consider what you will be doing with the ceiling, will you be keeping it vaulted to maximise the feel of space, or keep it standard. If height is not an issue then keeping it standard is no problem and the use of fibreglass insulation will be adequate, but if you are vaulting the ceiling space (opening it up to the underside of the roof) then insulation will have to be installed between the rafters and over the rafters, again the insulated backed plasterboard is a good alternative here as the board and insulation go up in one hit.
Ventilation
The other thing to consider is the ventilation.
As standard now I would recommend the following, bathroom extractor: opt for a constant trickle with a boost mode. When the light is switched on the extractor boosts and after a set time the boost stops and carries on with a constant trickle.
The second is an kitchen extractor, one over the kitchen hob is good, but I feel its only as good as the operator and from experience this isn’t usually the main concern of the tenant. So it may not even be used.
I would as well as the cooker hood install a constant trickle extractor with a humidity stat. What this will do additionally is kick in when extra humidity is detected. I like this because it takes it out of the hands of the operator and sorts itself out. Which means all the moisture laden air is removed, thus keeping condensation and mould down to a minimum if at all.
The other important thing to keep in is ensure any new windows have a trickle vent installed, this ensures fresh air is constantly coming into the property and means you don’t have to be concerned when you don’t see the windows open at all. You can also retrospectively install trickle vents I do it all the time for landlords that have had enough of mould build up in their rentals.
Lighting
The rest is down to design and personal touch but LED down lighters are a great tool in lighting up an otherwise dark space. Consider having different circuits for the lighting, broken up into the different areas. So if it’s all open plan the kitchen, living room, entrance hall, wall lights ensure these can be switched on and off separately. This is a good way of keeping electricity costs down and also highlights the separate spaces giving it a warmer feel.
Sockets
Also what I found while doing my annex was that the sockets with the USB ports were really handy. I didn’t put them everywhere just one in the living room and one by the bed. Very handy and still pretty new so a bit of a luxury for the tenants and give that wow factor, but actually they don’t cost the earth.
Bathroom
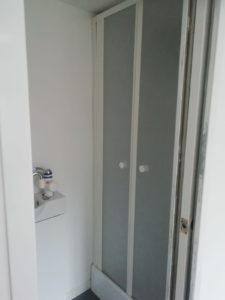
You usually have a limited space for a bathroom in an outbuilding. Wet rooms are great but a fair bit of work. I do like the new shower pods that are available and costs for these have come down considerably and the great thing with pods is that they are practically maintenance free unlike the traditional tiles and shower tray. Also consider installing an over mirror light with shaver point and shelf under the mirror or go for a cabinet with this included. These work well with electric tooth brushes and are a handy place to have them charging up rather than trailing leads on the floor (like I have at my house). Again a bit of a luxury but they give a bit of a wow factor. Check out my post for small bathroom ideas and tips for more help in this area.
Summary
Hopefully my main points above will get you started on your project, obviously design and layout are subjects on their own, my main tip is try and incorporate all the space don’t leave anything out, as with all outbuilding’s, space is a premium so don’t waste it. If you’re like me I like to design as the space takes shape whereas others can see it before it’s done. Work to your strengths and don’t be afraid to ask people’s opinions.
Good luck with your projects and be sure to look at my other posts for further help and advice.
Toby 🙂