
The next project I undertook, which is definitely worth posting about is an old disused brick outhouse.
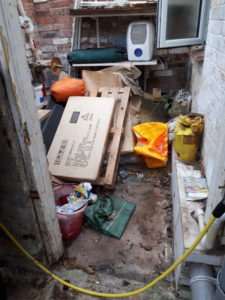
It was in a state of disrepair, the last tenants had used it as a dumping ground the roof had holes in it and it was just full of stuff.
This was an interesting one as it probably wouldn’t off been made use of if the electrician that had carried out an electrical test on the property (currently being used as a student property) had not failed it on the basis they were not allowed the utility to be shared with a shower, so basically they had electrical appliances such as tumble dryer and washing machine in very close proximity to the shower pod.
So I was asked to make the structure good and turn it into a new utility.
First job was to clear it out and see what we were dealing with, now unfortunately the landlord did not want us to do anything with the concrete floor so we just made it good and used garage floor paint on it which helps to reduce damp coming up through. Ideally I would liked to off had the old floor up and at least installed a membrane and new concrete but that wasn’t an option.

The roof had to completely come off. The landlord was really keen for us to make sure this was a solid structure and I found out why later on. (Basically he said one of the old tenants “ drunk as a skunk” climbed out his bedroom window and walked out straight onto this old roof and fell through.) So obviously he was keen to make sure if it did happen again no one would be falling through..
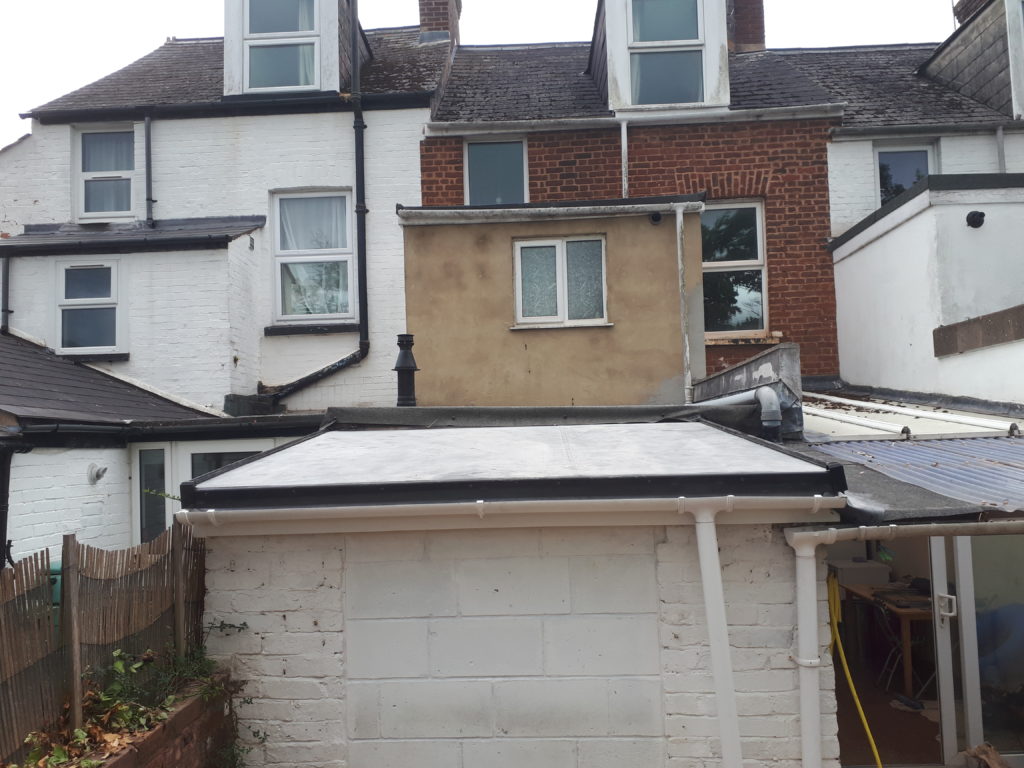
New 4 x 2” timbers were installed, an 18mm osb board laid down and fixed firmly then I used a single ply membrane over it. This was great value all in about £400 and it came with a full kit, which consisted of the membrane, all the adhesives, and trims, also all the hand tools required for it and it was a piece of cake to install. The other hard part was to try and seal it into the existing roof because as you can see its not in great condition so I carried out some minor repairs then tucked our new membrane up under the old felt roof.

The brickwork was in pretty good condition apart from a few course up under the roof which was easily repaired, I went belt and braces and coated up the first few courses of brick and the corner of the concrete floor with black jack which is like a damp proof paint used a lot of time when dealing with areas underground or in this sort of situation.
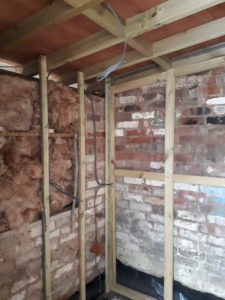
The walls were solid 9” on the front elevation and where the door opening was but single skin on the side elevation (Neighbours side), we had to batten off and insulate it all but I decided to build a separate stud wall of the single brick elevation as sometimes drilling lots of holes to fix battens can do more damage than good. So after studding and insulating we boarded the ceiling and walls
Before this though the first fix plumbing and electrics were required, for this we were doing a proper utility area with worktop and kitchen sink, so a fair bit of plumbing required and a couple sockets with a rated bathroom light and extractor. The extractor was slightly fiddly as we wanted to tie it in with the bathroom next door, so the electrician used a fan that would work for both the areas and I vented it through the new utility.
Then plastering and painting carried out.
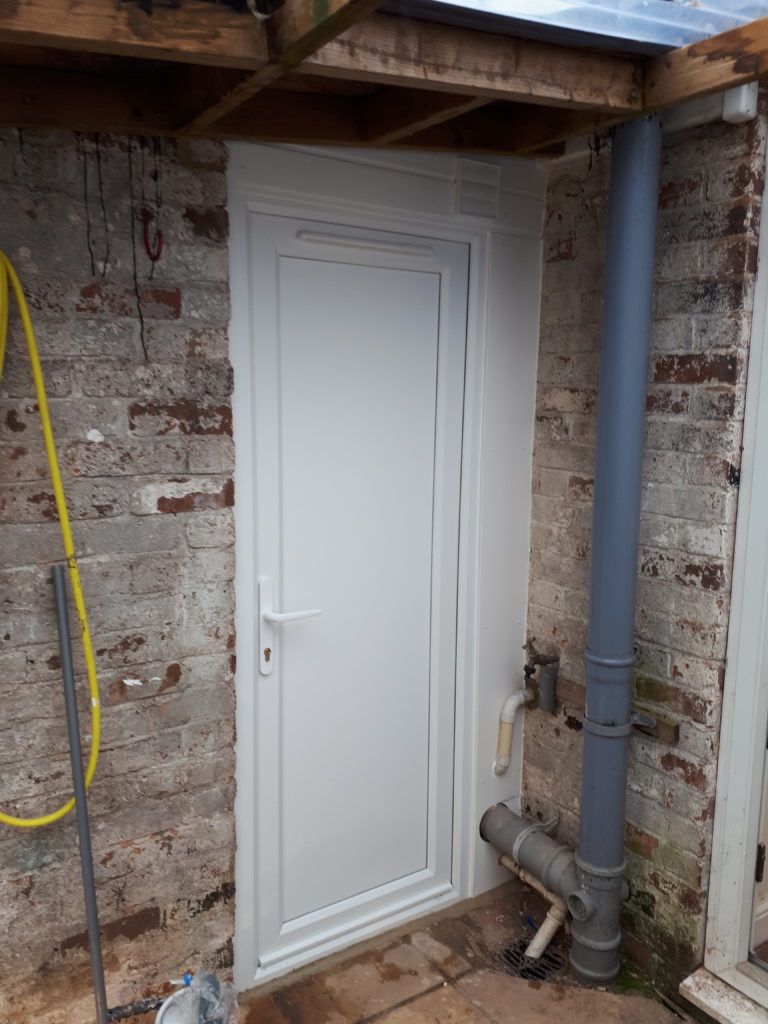
After that had all dried the easy bits 2nd fix plumbing and electrics and worktop. The only other bit was getting the new UPVC door in. I was worried initially about height as it was slightly lower than usual, also there was a soil pipe running up the side that could of thrown the door out and the floor levels were slightly different from the grand outside to the utility. But I was able to sink the floor down a bit after doing some chopping of the old floor and it made it work better so there was barley any upstand on the threshold of the new door. I then boxed in all the old pipes and new with UPVC boards, I also opted to use UPVC for the skirting boards to finish the area completely I thought this to be a lot more hard wearing for possibly quite a wet area. It also gave a really nice finish once cleaned up and it’s so easy to work with.
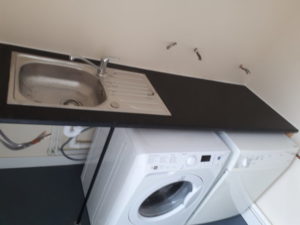
I then wheeled in the existing tumble dryer and washing machine connected it and tested it and now everyone is happy including the electrician. I have to say the finish was so good it let the rest of the house down.
So another good example of how you can make use of old dilapidated outhouse on the backs of your properties.

If you have not already read my post “converting an outhouse” for more on outhouse conversions.
Thanks for reading,
Toby 🙂